Creature creations
How to make a folded paper moth or butterfly


This is a really lovely activity to try out if you love colour and pattern. Perfect if you want to spend some time enjoying the colours and markings found on moths and butterflies.
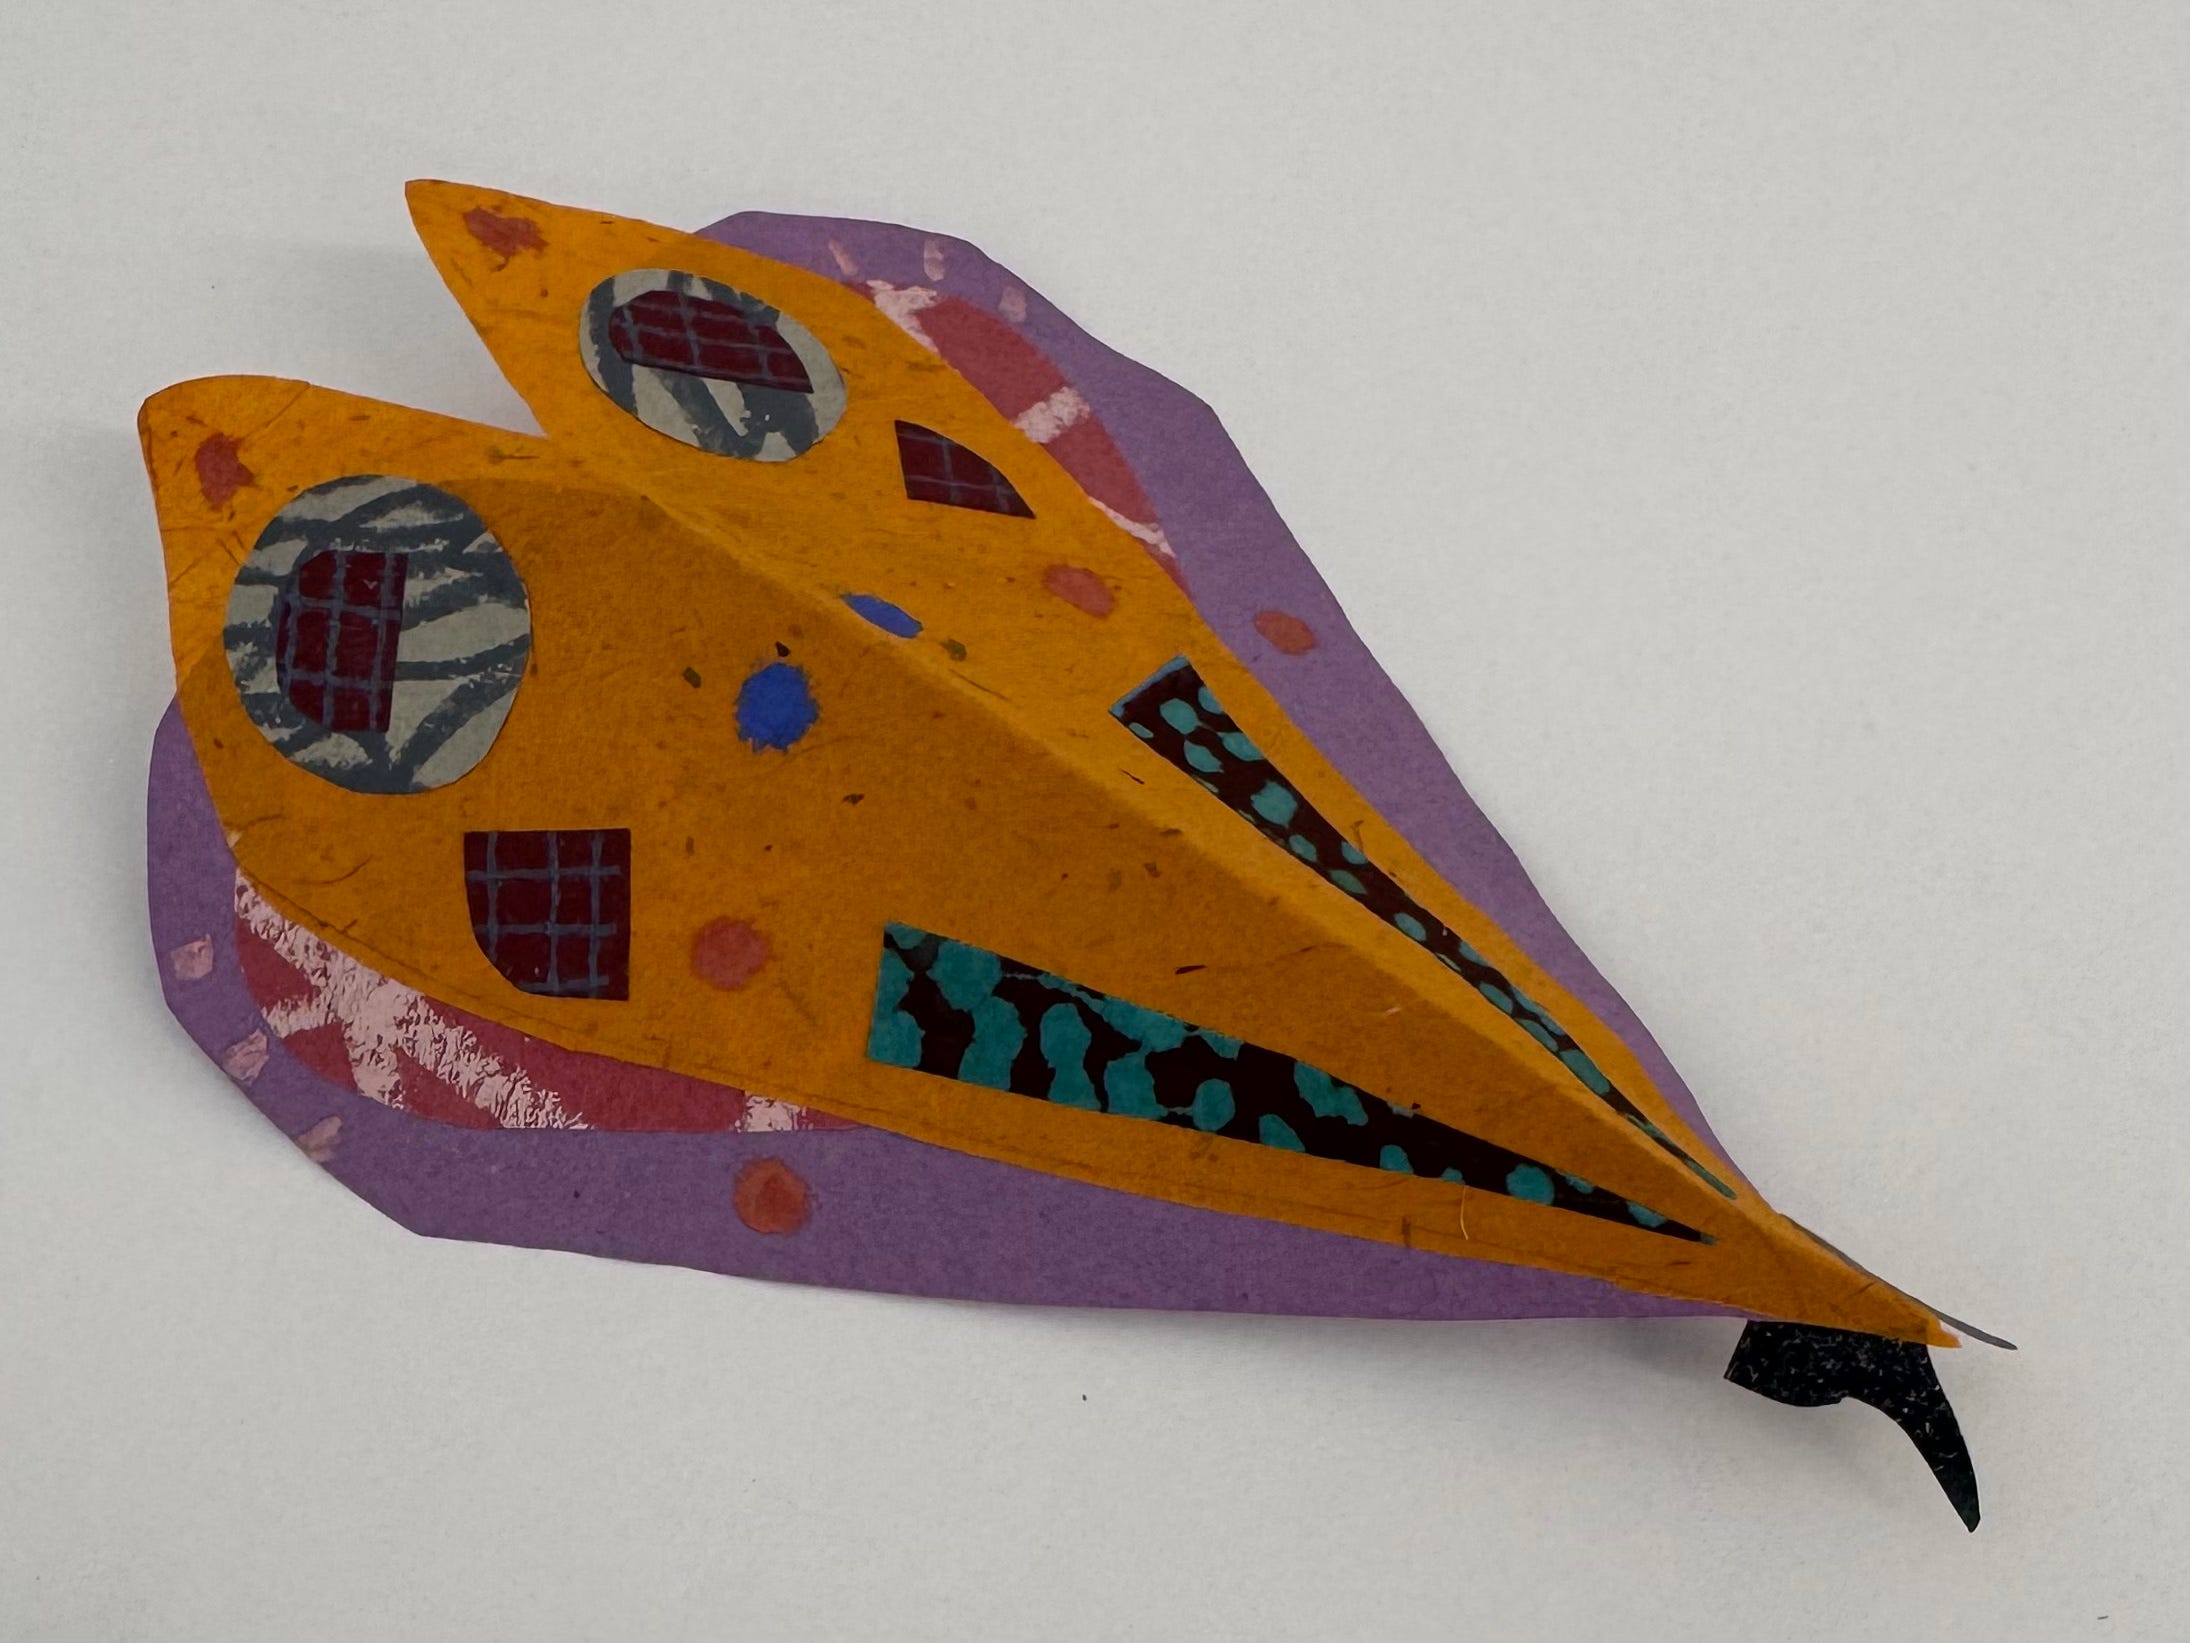
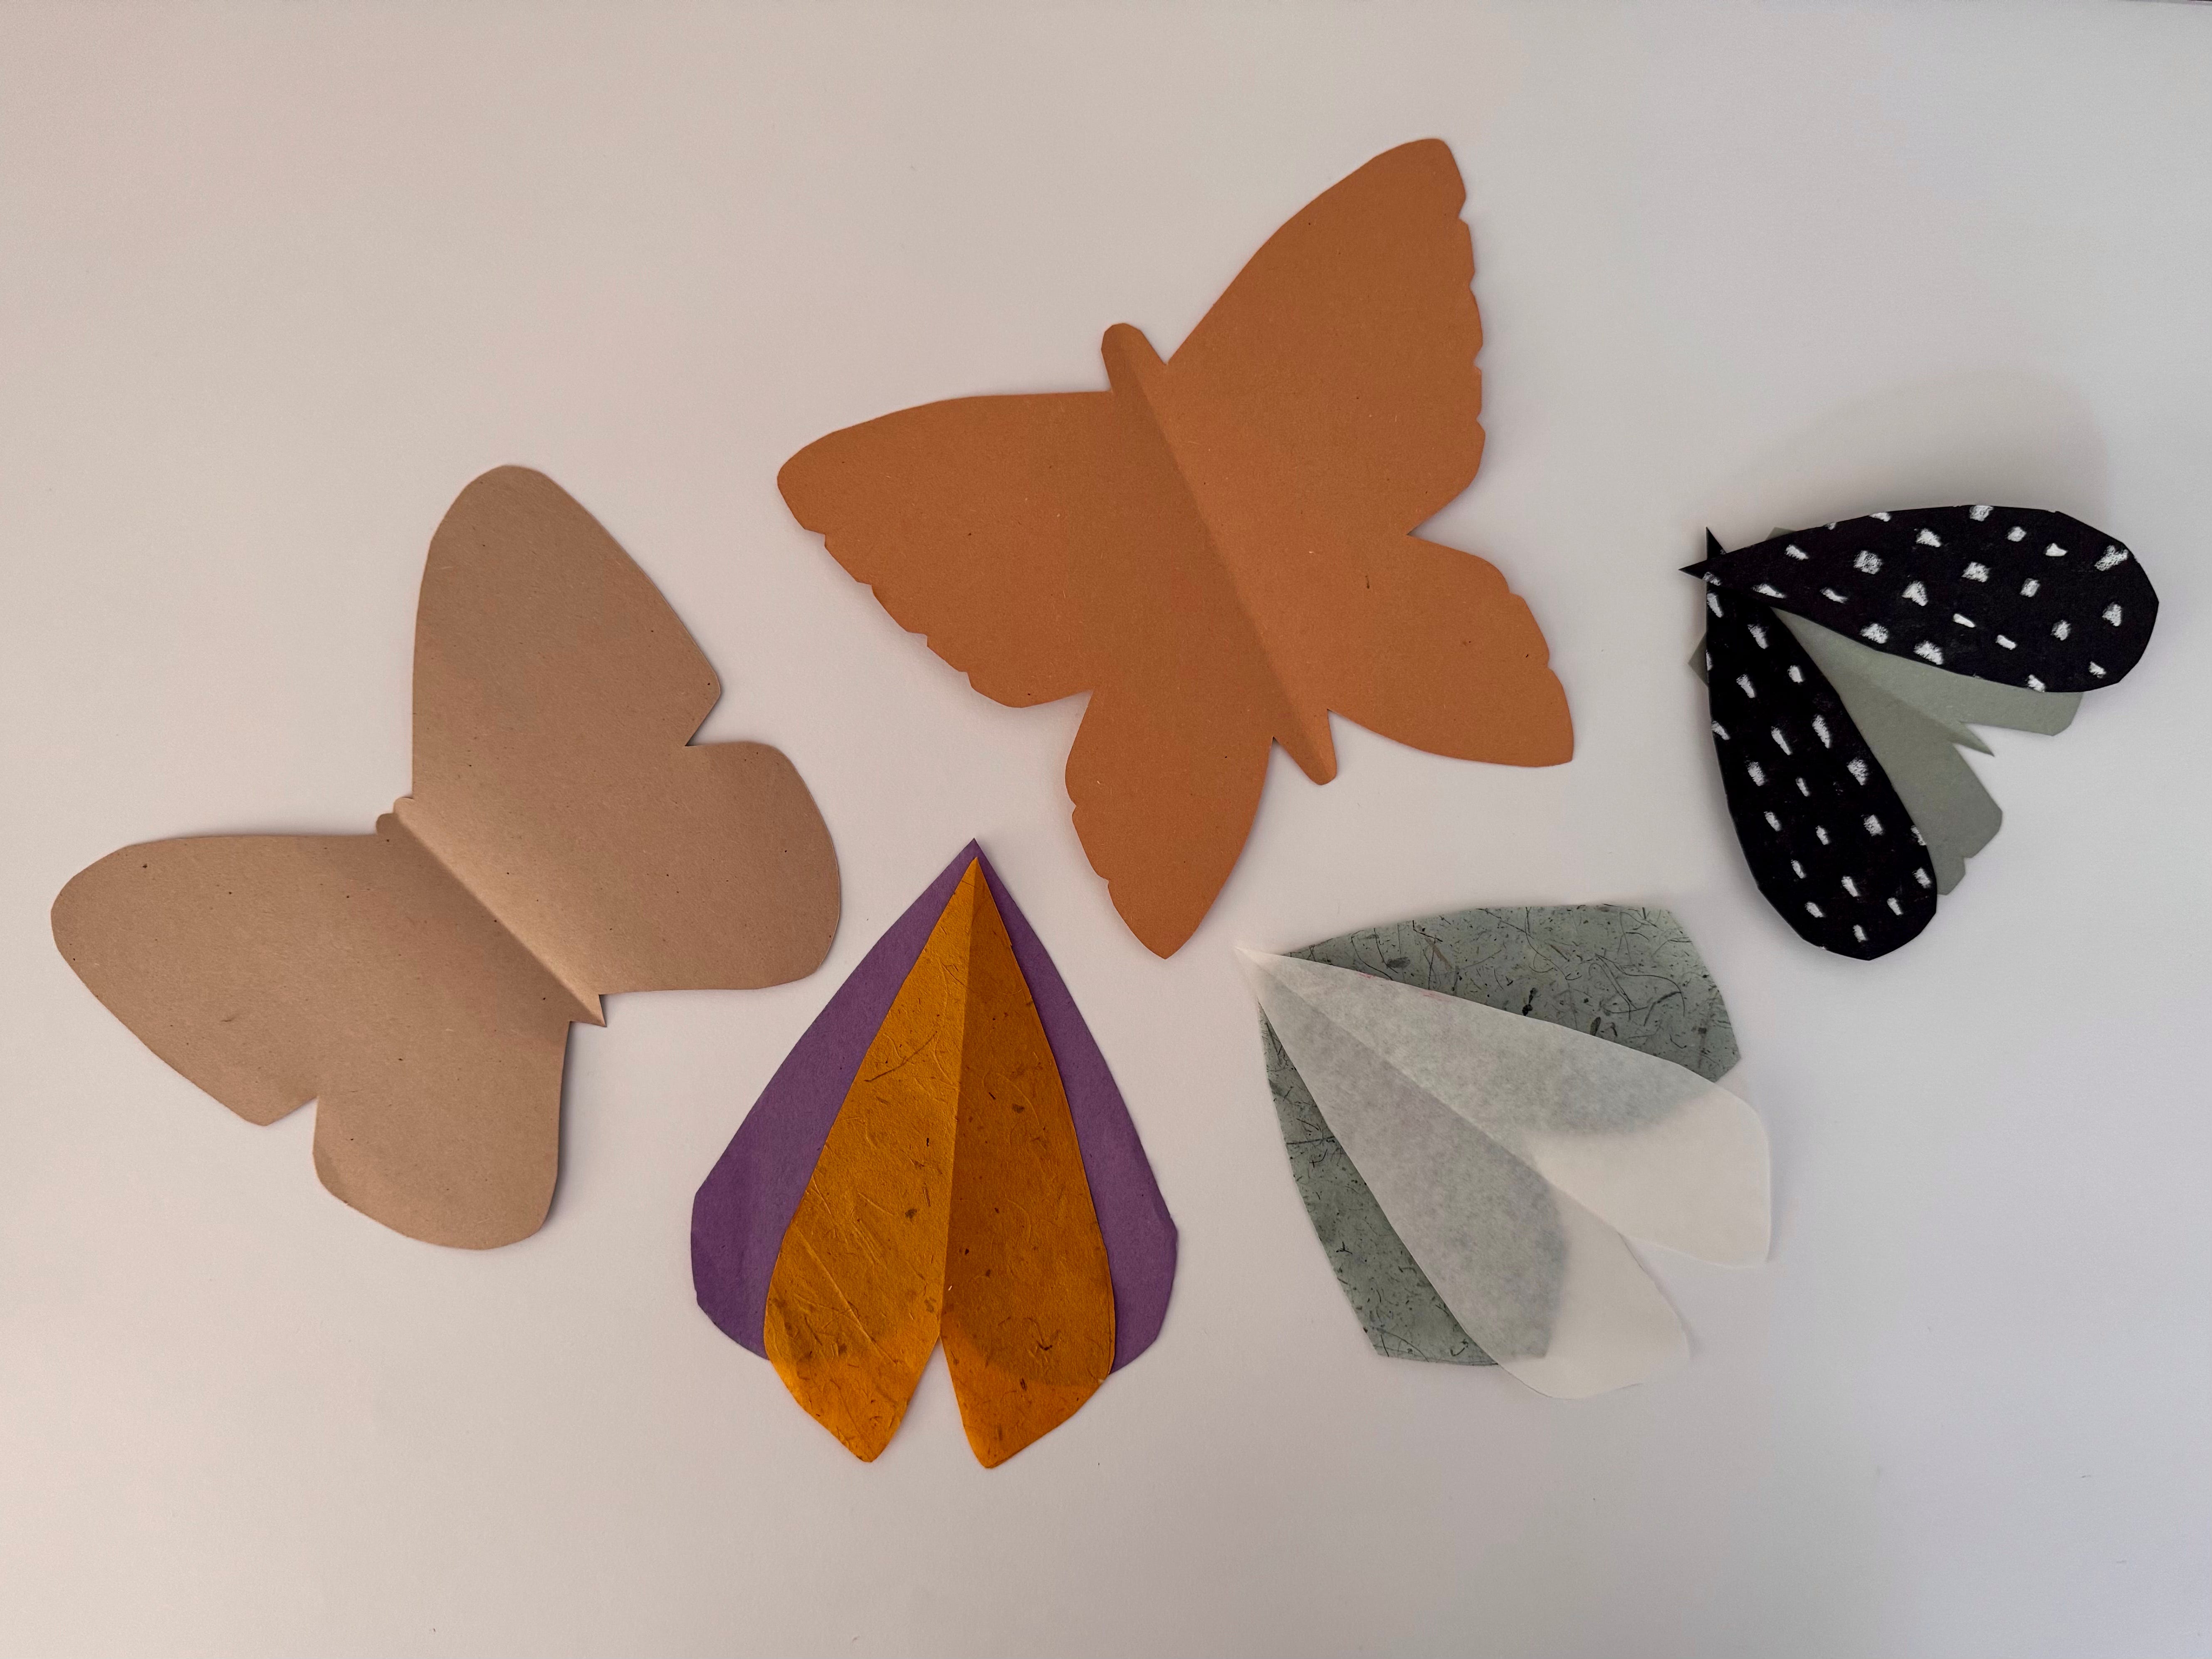
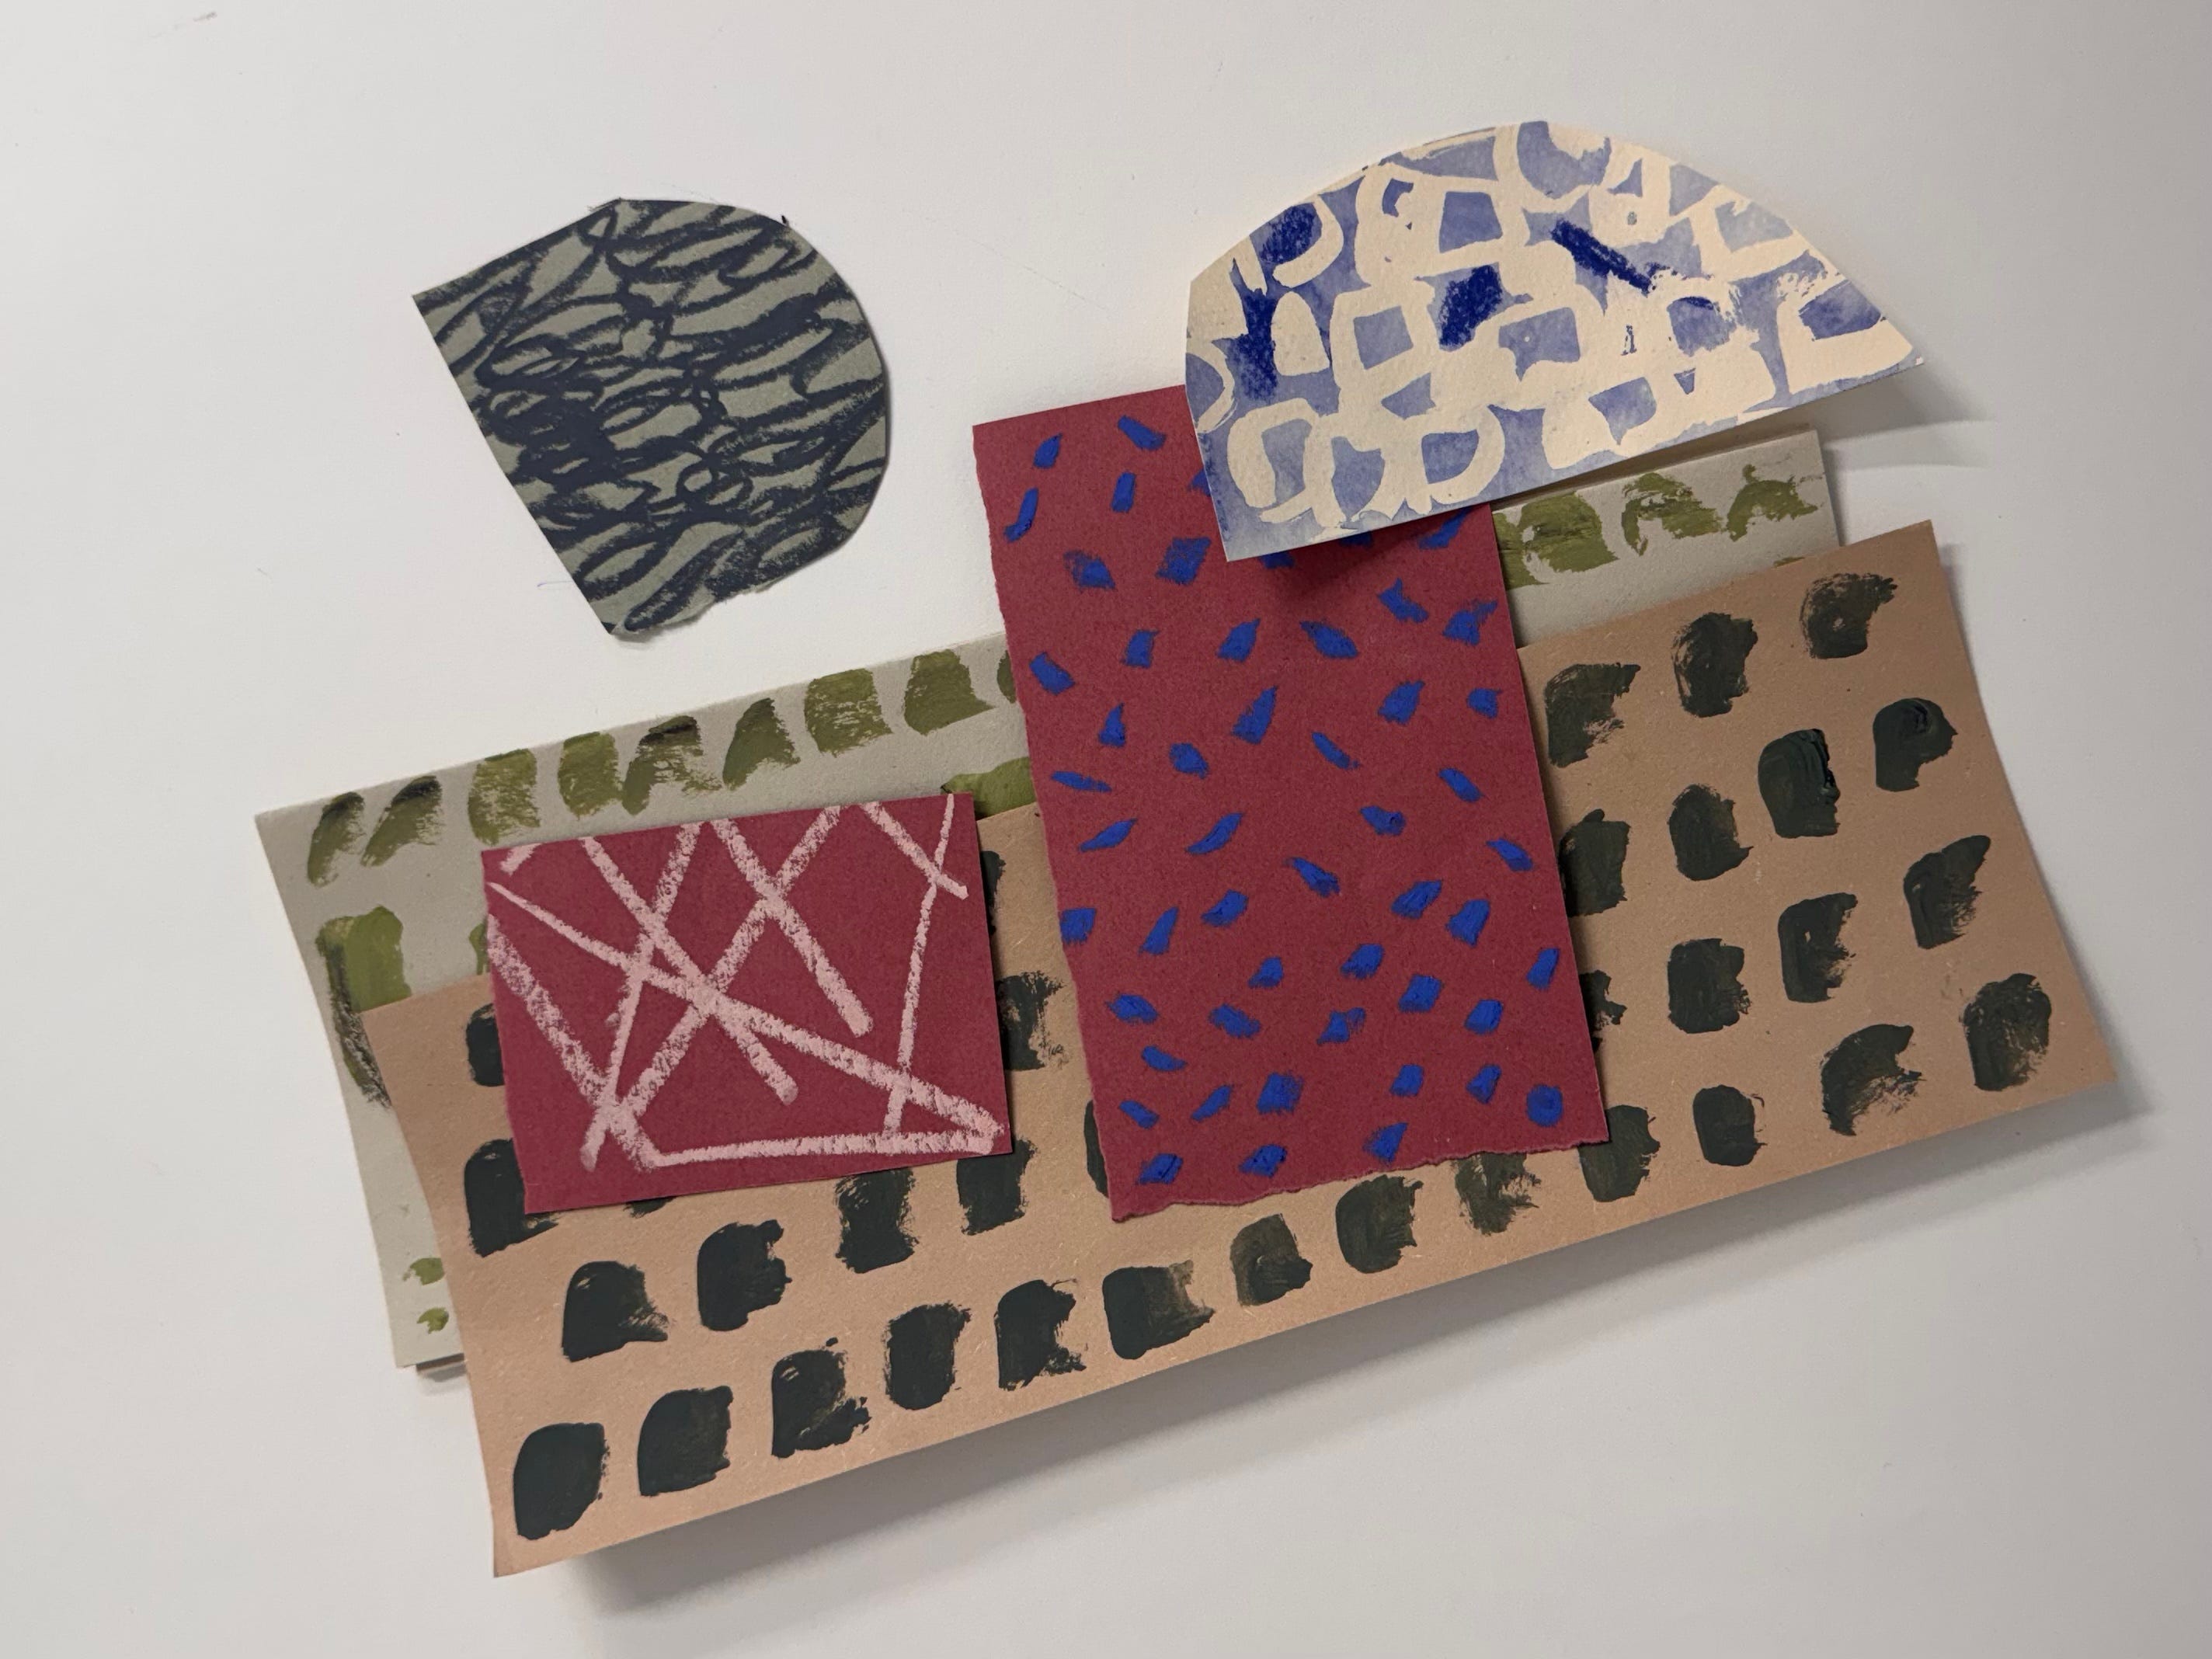
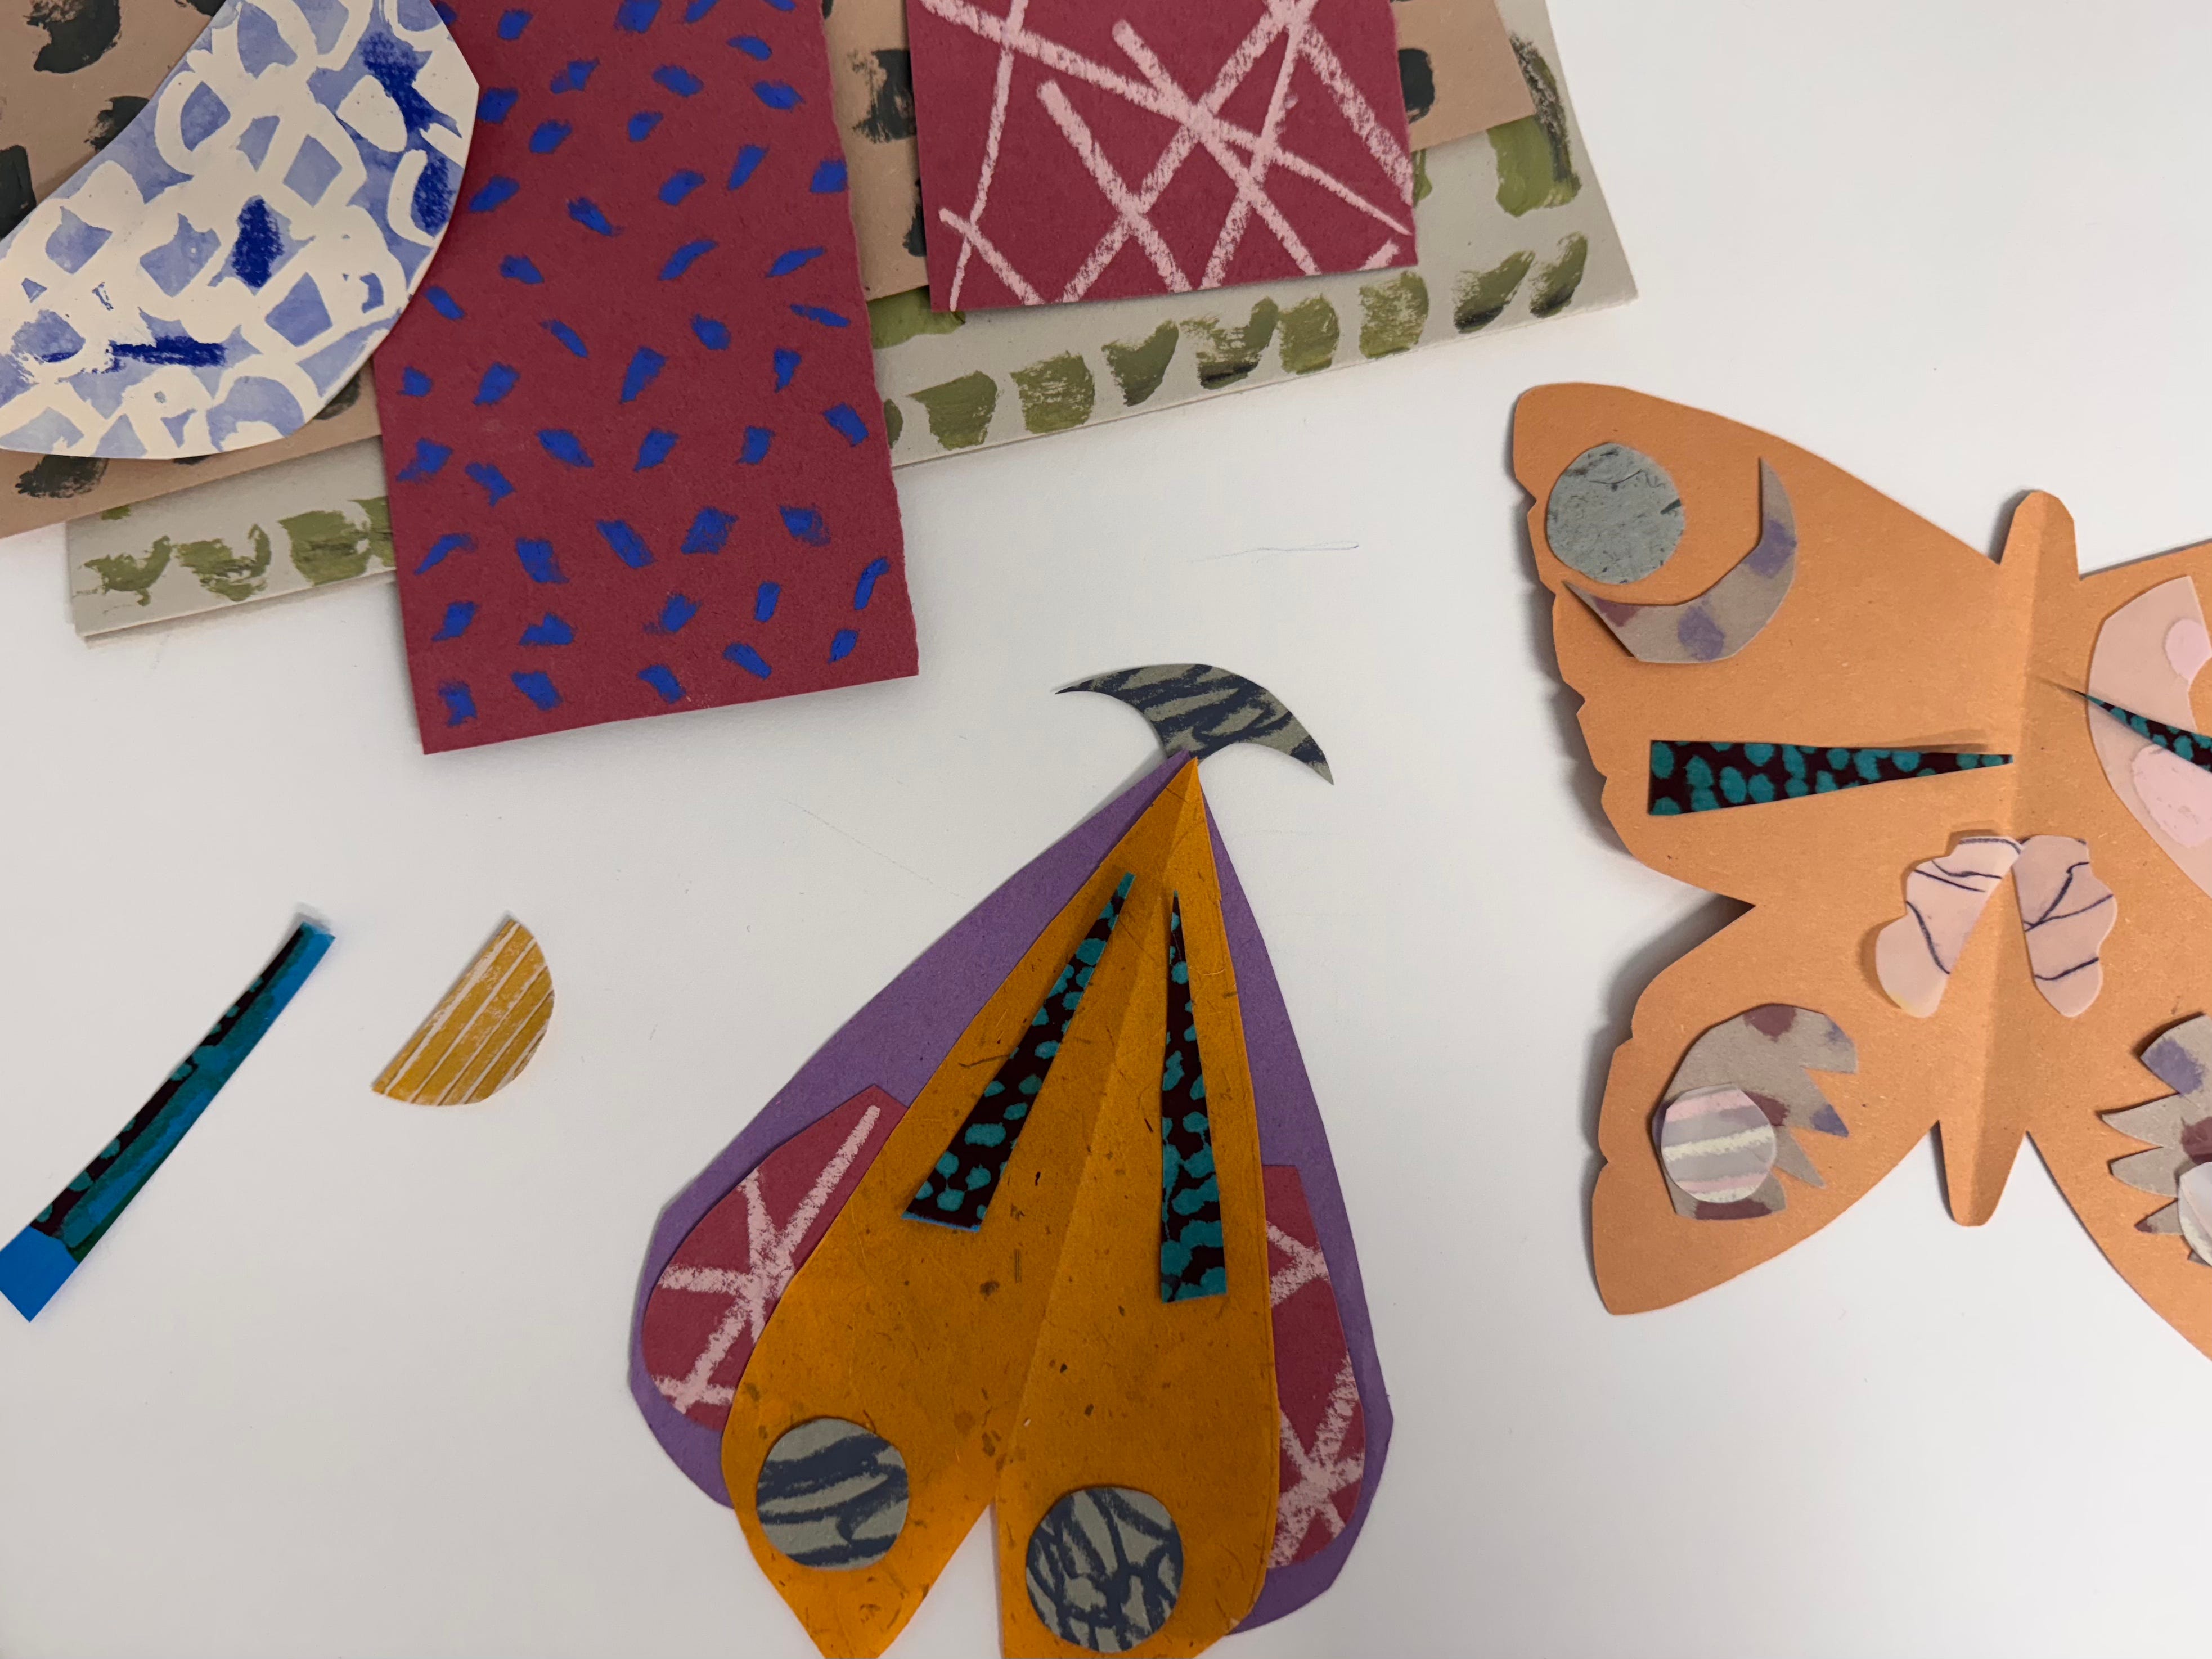
I started with pieces of coloured paper in various sizes and colours. I used sugar paper and some nice textured mulberry paper too, I really love the colours of these
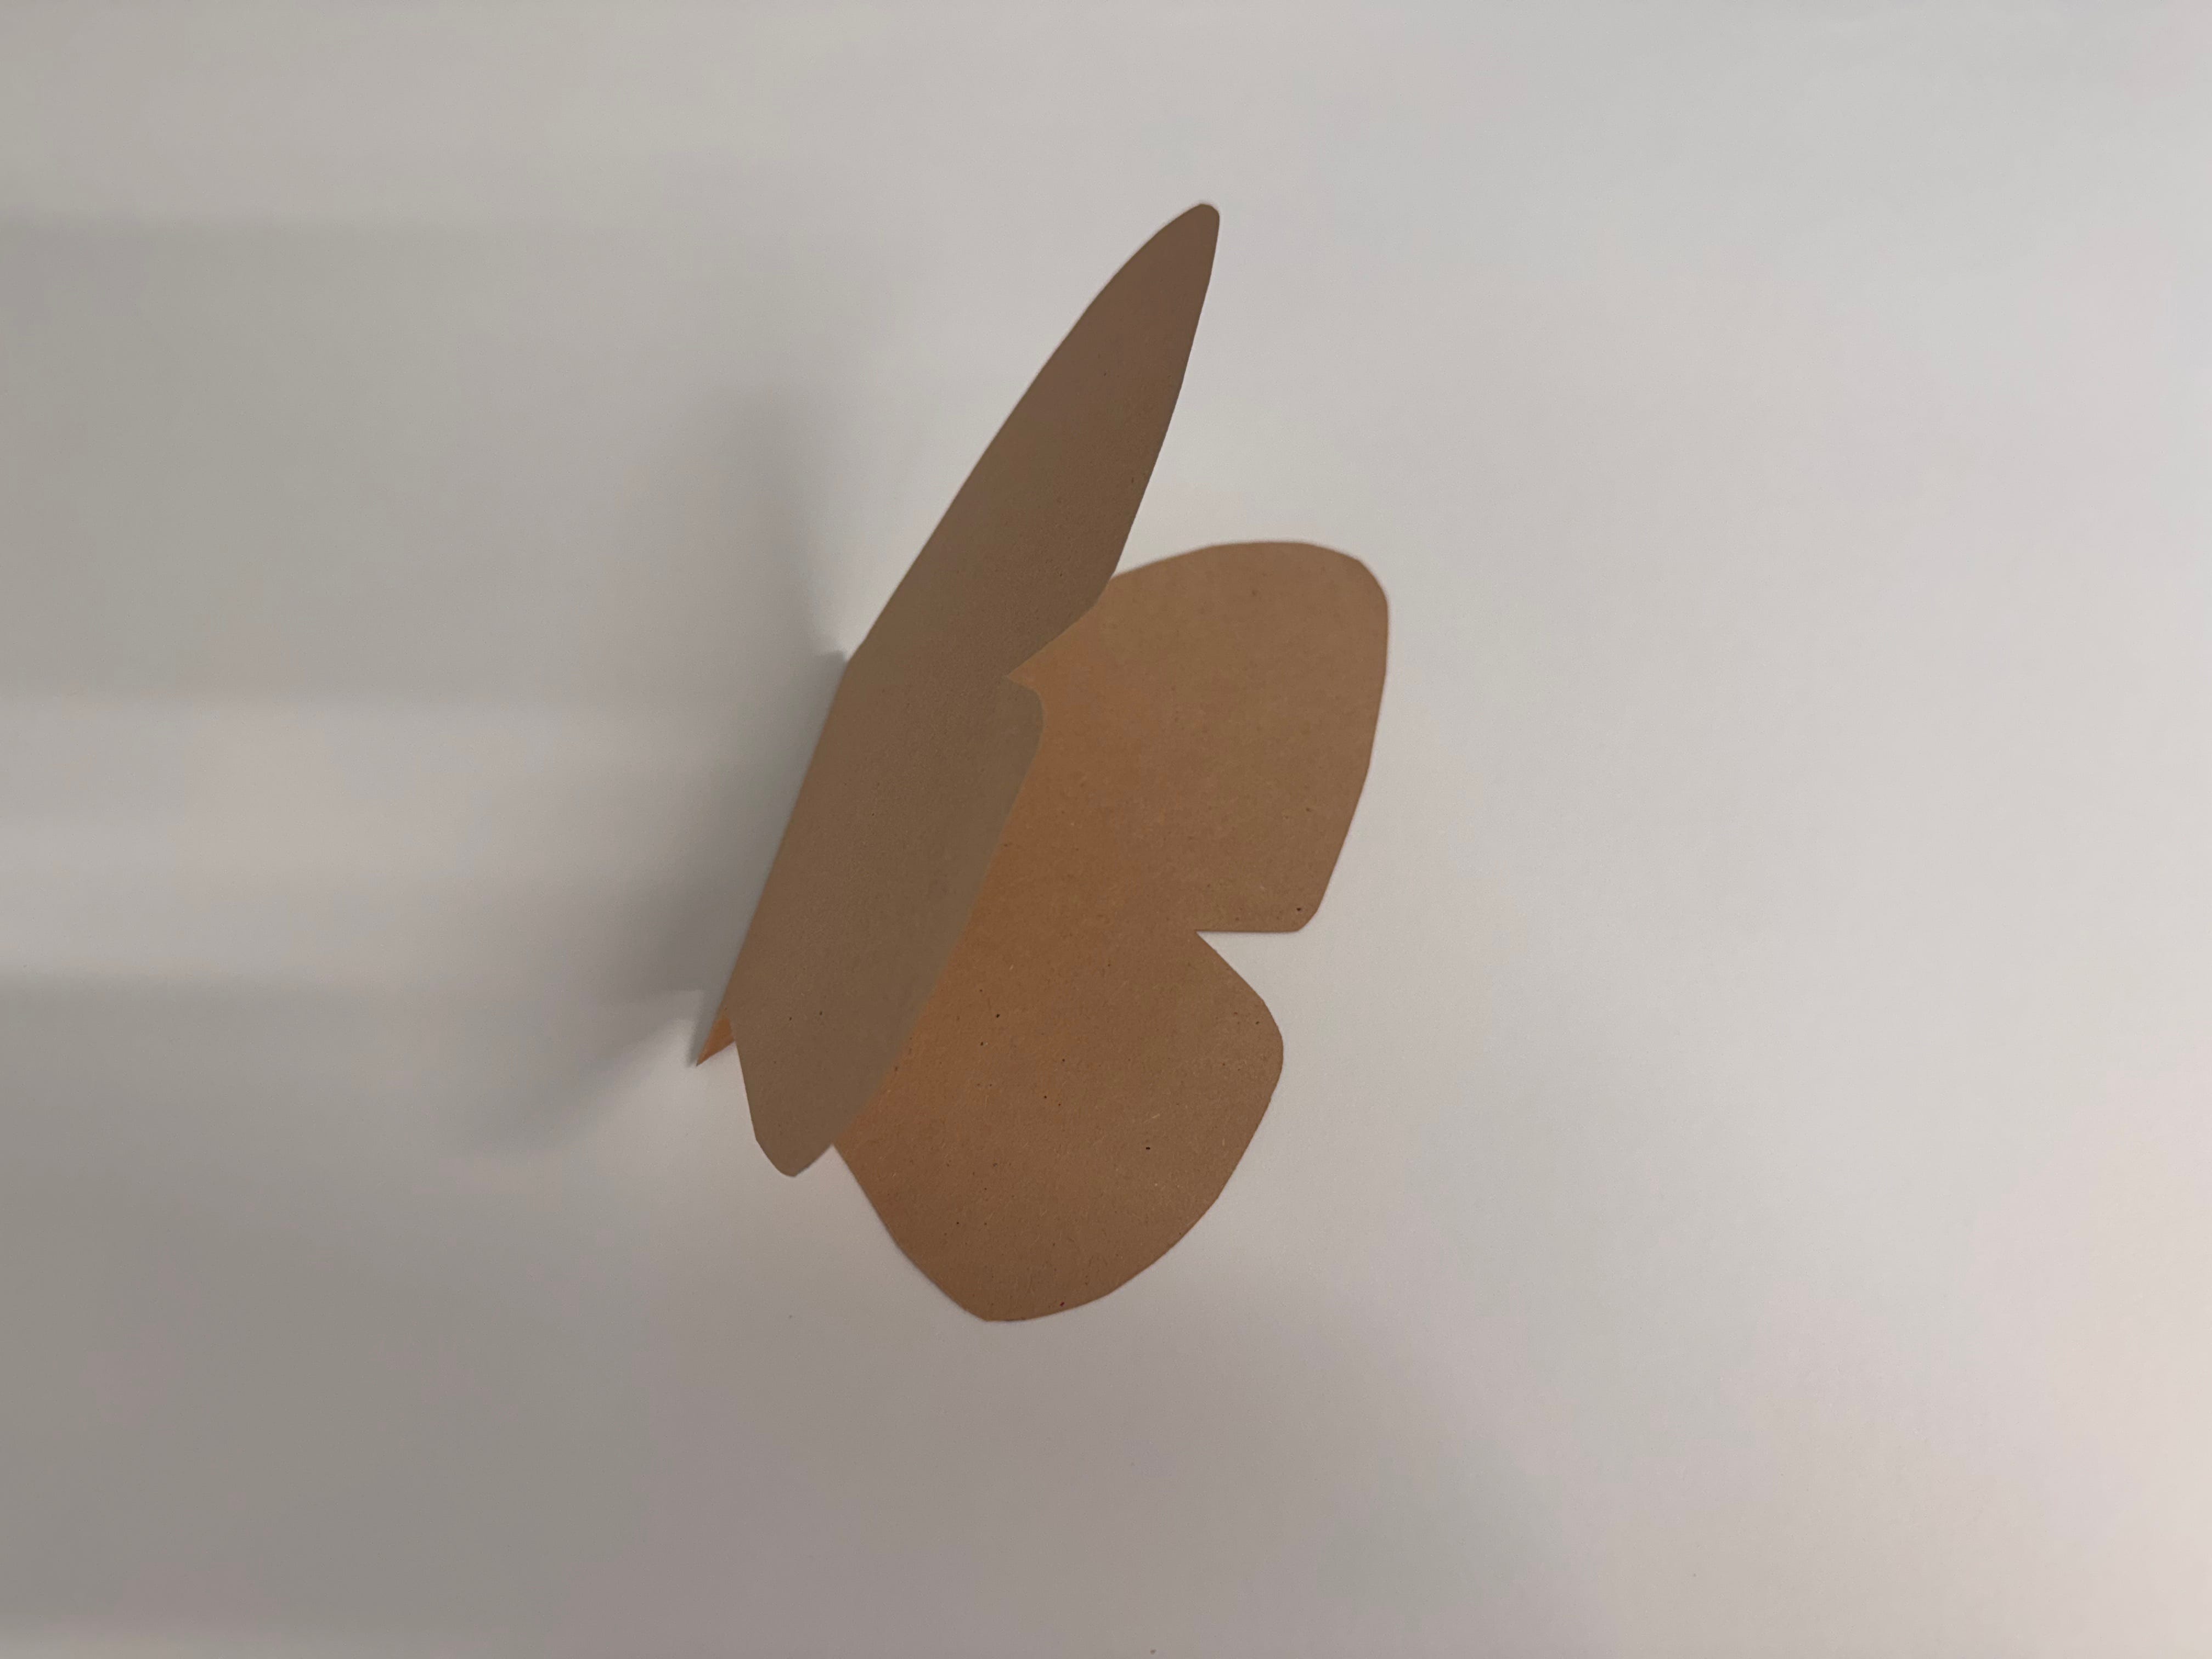
I folded the pieces of paper in half and cut out butterfly wings shapes, using recent photographs I took from Manchester museum for reference - I will add a few of the ones i used at the bottom of this post. I also found cutting hearts with thicker and thinner shapes worked really nicely laid over each other to make moths.
I was keen to make graphic colourful and textured patterns on my winged creatures so I gathered some patterned paper I had and I made a few more pieces. I used more colour paper and added splodges of paint to some pieces, on others I used crayons, oil pastels and pencils to decorate the paper.
I started to cut out shapes like that marking and details on the butterflies wings, i tried to keep them roughly symmetrical and played around overlaying paper shapes. The process of this was enjoyable, adding pieces and moving them until I was happy with how they looked. I also added some extra spots and markings using bright oil pastels too.
I gently folded the wings in half and on some I added antennae. I also photographed some in my garden, if you are making these with children it could be a lovely way to show their creations.