
How to make printed pots
Create you own patterned pot

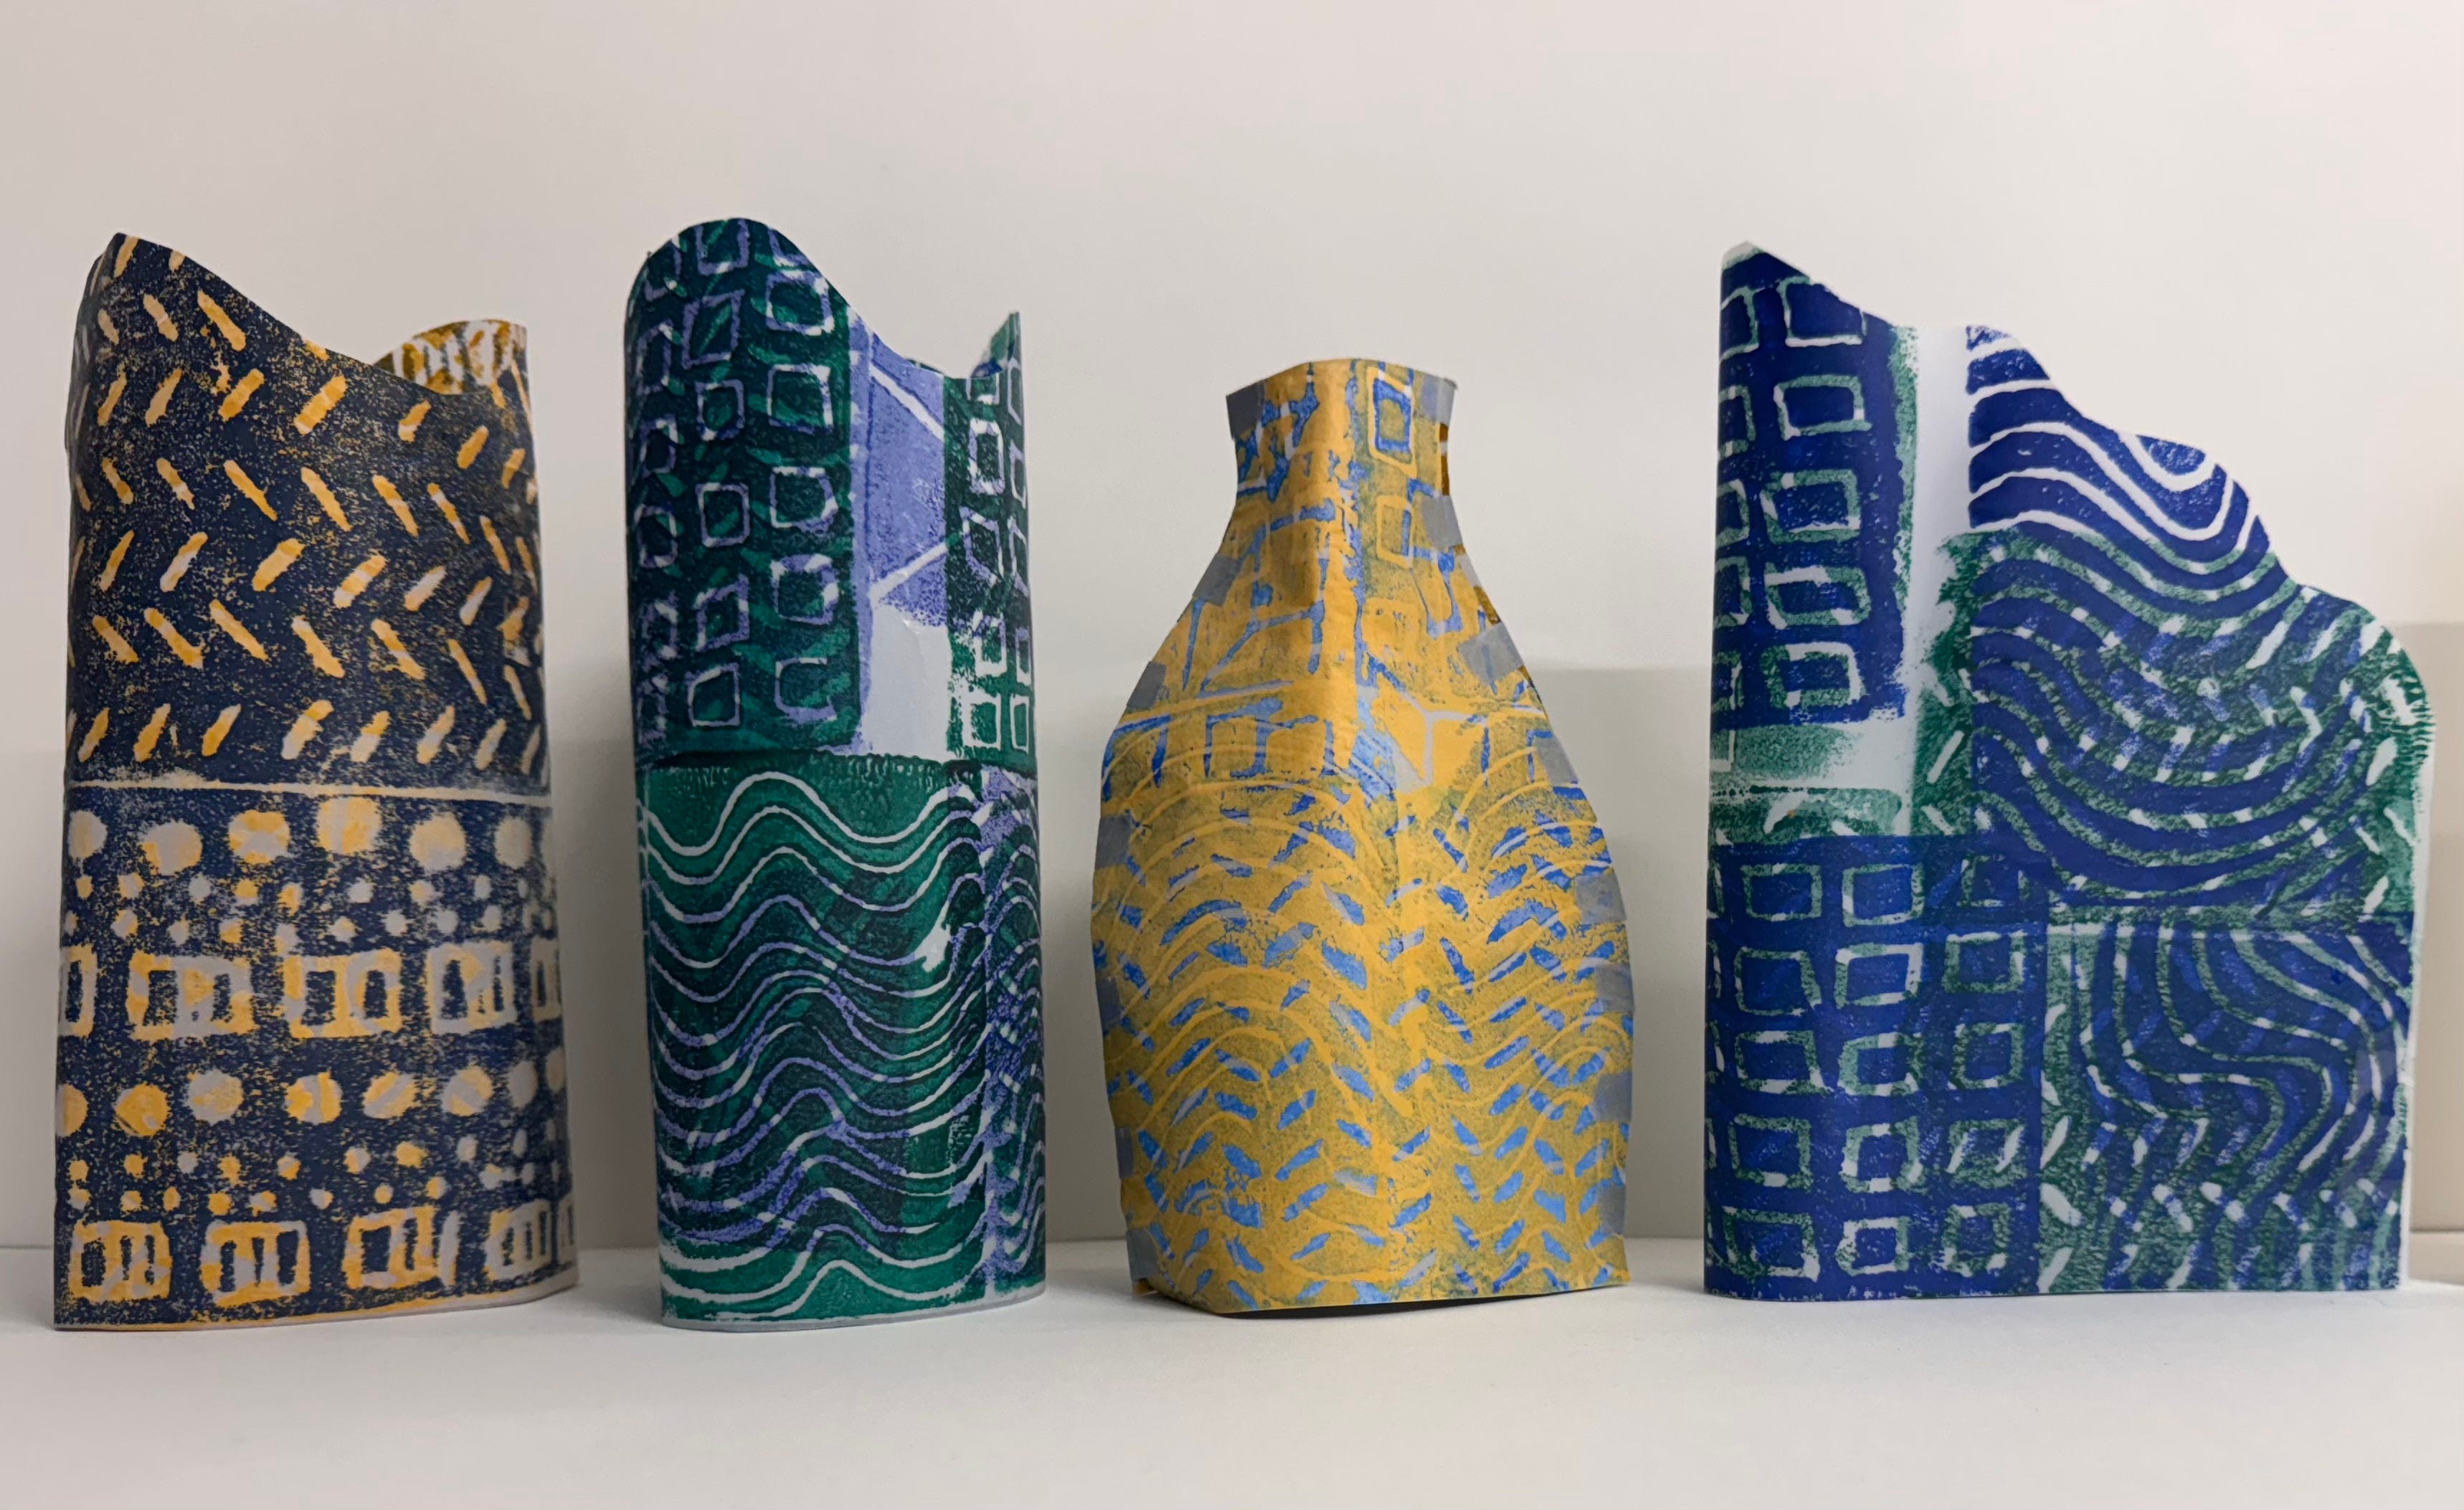
Printed paper pots! I have been having fun in the studio recently making these, i am developing them for a series of workshops in the summer holidays I am running at The Hepworth, inspired by a lovely exhibition of work by Elizabeth Fritsch.
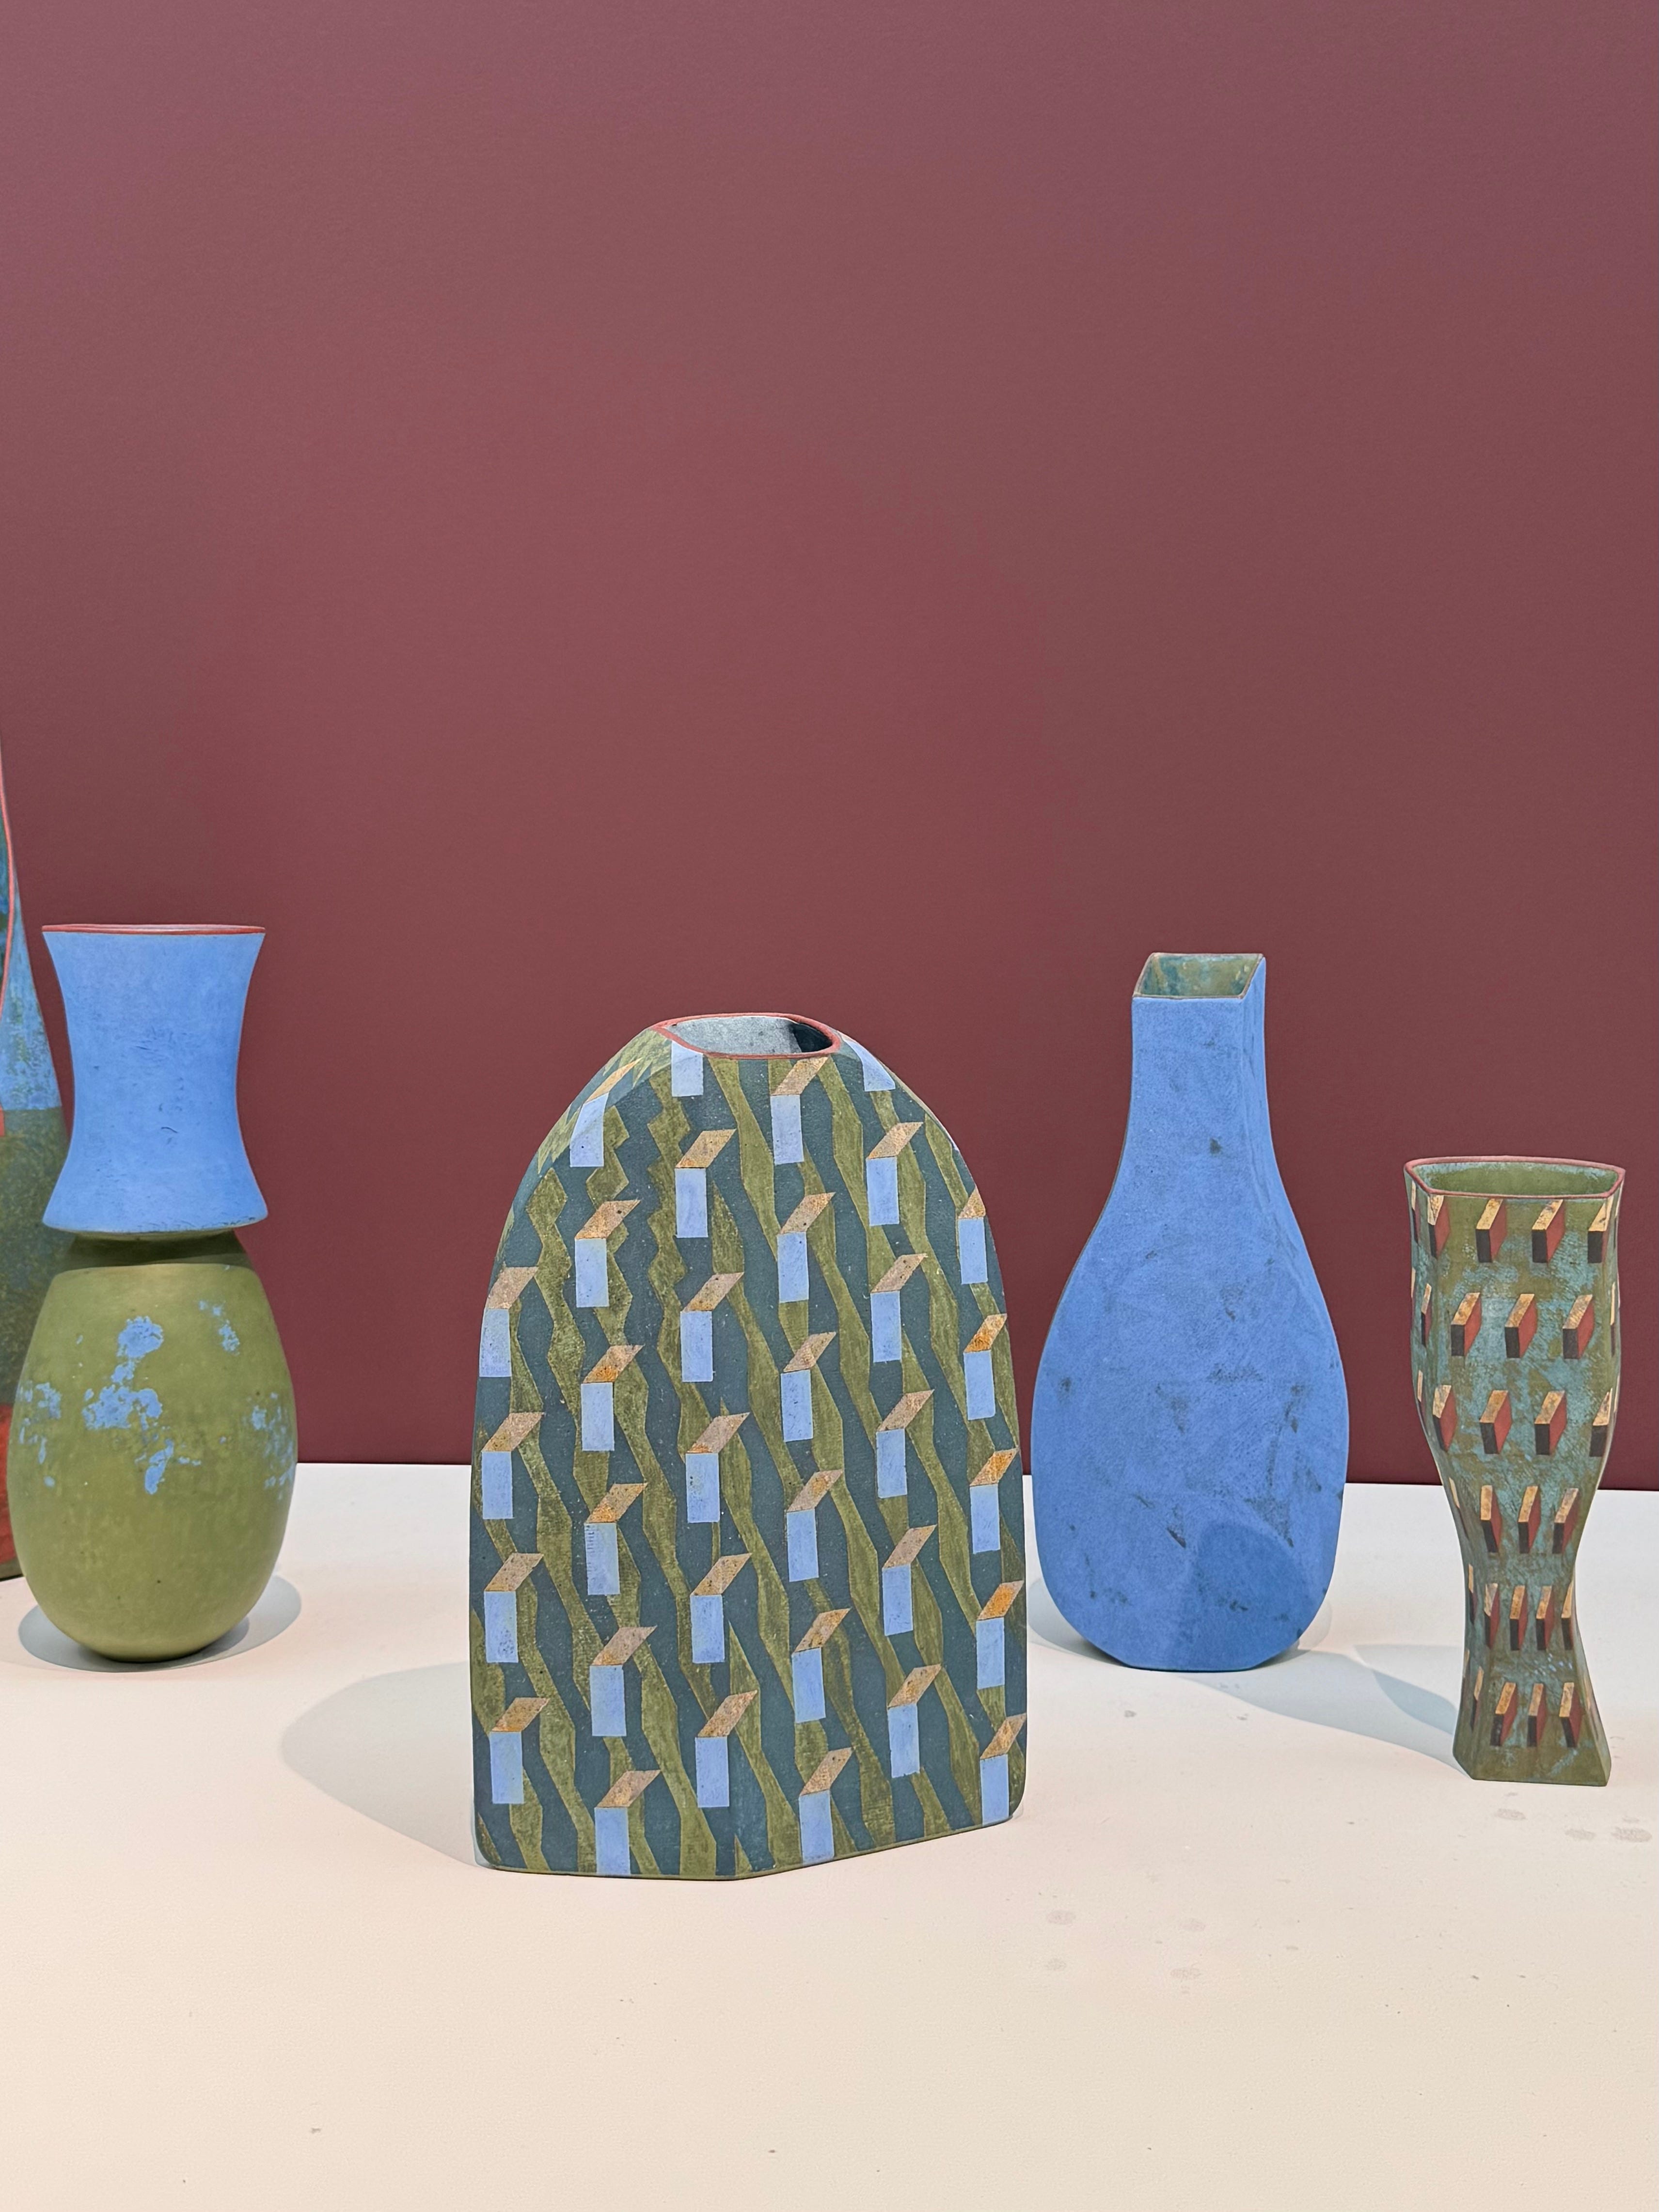
Fritsch was a British ceramic artist known for her hand-built sculptural vessels. Her pots look architectural somehow in shape and form and they are combined with geometric repeat patterns in gorgeous colours. She trained as a musician and was really keen on the idea of rhythm all through her work.
To make your own printed paper pot
You will need
Tracing paper - I have used 2 sheets of A4 for each pot but you can use whatever size you have or fold them over instead of using 2 pieces
Safe print/polystyrene sheets/safe print foam -all different names for a similar item. I found This online as an example.
Water based printmaking ink in any colours you choose. These will wash up with water and a little washing liquid if need be.
Plastic, ink tray or acetate to roll out ink - any smooth flat source will do
Roller
Pencil or biro
Sellotape/ double sided tape or washi tape
Here is a couple of videos to show the process -
Step 1 - Cut the safe print into smaller pieces - I cut mine into 4 that could fit on a piece of a4 paper but they can be any size or shape.
Step 2 - Draw patterns into the safe print, try out spots, squiggles, dots, zigzags etc.
Step 3 - Roll out a thin layer of ink onto your plastic and then roll onto the safe print shapes, start with thin layers and build it up so it’s covered but you are still able to see the lines you drew previously.
Step 4 - Press down the shapes onto your first sheet of tracing paper. You can roll onto these with a clean roller for pressure or press with your hand.
Step 4 - Print your second piece of tracing paper, don’t take too long for this as you need the ink to still be wet to stick both sheets together.
Step 5 - Sandwich your two pieces of tracing paper together with both inky sides in the middle. The ink will stick both pieces together (if the edges of paper slightly come apart later you can easily glue or use double sided tape to stick them.
Step 6 - Cut a shape or create wiggly lines and fold into a pot. Have fun with this bit, they can be as weird and wobbly as you fancy! Join the sides together with tape.
These look really lovely in a window with the light shining through. I hope you enjoy them and please do show me if you make one - i would love to see!
What a unique idea! Very interesting. Thank you.
Thank you for sharing these, Rachel!